Wednesday, 18 May 2011

Tweaked Shots for Final Edit: Scene Missile

Finally got the last scene together. Animating the back and forth took longer than I wanted it to because the animatic wasn't too clear so I infused it with a bit of creature retardation, kind of. This gave me less time on tweaking past what Simon wanted, so I got what Simon wanted in first and then went back to the shots to make the animation better. And here goes the Missile Scene, with many shots:

I'm okay with this shot, but it's the facials that makes it seem at bit off. Due to the limitations of moving his brow I couldn't get the expression I wanted at the end, I think the camera angle didn't help either. But with what the rig could do I think it works alright. Next time I would see if there are any other camera angles that would make this action look better.


Just a follow on shot, looking at the controller and I put a bit of movement in there because no-one can hold anything still:


Another follow on shot, establishing what's going on and the situation of the scene. I think I could have had the apprentice do something like pulling his hand over his eyes to try and see further, just for a bit of dynamic and contrast, but again time was an issue so I stuck with what I had:


I like the way Shot 4 turned out and the only thing niggling at me is the hands on the binoculars, they shake too quick where it should be a slower movement like in the controller shot:


I'm pleased with shot 5, although I could have thought of a few more possibilities at what the creature should be doing just to see but there wasn't much time for testing. I kinda like the way he's inspecting at what his hand can do, gets distracted for a second and goes back to his hand, shows a little of that stupidity the guys wanted:


Shot 6 seems fine the way it is and I'm happy with the apprentice's movement, however I think I'd go back and tweak at it more with the hunter holding the controller a little lower:


A cut to look at the missile from the side, and the apprentice is still turning to see. I quite like this cut, but looking at it now there's a little popping I can see that's irritating me; other than that pop I'm happy with it:


Annoying to get the controller movement right in this shot because the controller must still move slightly in his hand while he's thinking about what he's looking at, and thinking about forces and adding in that punchiness when he presses the button. Maybe a bit more of a change in facial expression is needed, but other than that I like this shot:


The camera angle was moved close to last minute, and because I was animating the back-and-forth first then the important tweaks I didn't get chance to move the apprentice, and have his eyes follow the missile when it zooms away. I quite like the camera shake and maybe tweaked to have faster bounces when the missile moves forwards:


I like shot 10, this one was a major tweak because of re-animating. I found it tricky to figure out the timing for this straight away, so went into stepped mode and played around with the keys the get the timing pretty much there before working on arcs. I'm happy with the result:


Shot 11 is just a quick shot of the creature jumping down, and looking now, the land should have a bit more impact upon his body, so making the bounce up and down rather quick at first and then easing out:


Not much to see or explain in the next shots as they are the quicky flicks between the creature and missile and I think the missile ones should be a second shorter just to emphasise how fast it's all happening.


I'm relatively happy with this shot, the creature jumps forwards near enough into the missile, showing his stupidity again and lack of fear I suppose. When I come back to this I should think more about his tail and the way it moves, but time constraints didn't allow me the freedom I had on Scene Mushroom in exploring and testing ideas:


I really like this shot because it goes against everything you should do when faced with an active missile, furthering the notion of the creatures stupidity. Things to work on would be the tail and get some solid poses for where it should be:


Again relatively happy with this shot but the lack of control I had with his facial controls meant that the camera had to change (not just his face in shot) which gives the audience less of an impact that the hunter's a bit shocked:


Missile flying off, and happy with this shot, the creature should have a bit more movement in him but because he has no neck I can't make his head follow the missile, so he can see where it's going:


Shot 19, the creepy shot. Annoying to get the right flowyness with the sudden camera move here. The hunter's fingers aren't the easiest things to pose either especially for shots when grabbing shoulders. Extras to do for next time, is work on the hunter's hands/fingers, and move the camera back to it's original keys as when the apprentice's head stops and camera moves it seems a little choppy:

Monday, 16 May 2011

Tweaked Shots for Final Edit: Scene Musha

So it was decided that because we're not going to be rendered in time for hand in, everyone can take a bit more time on their animations to get them to a better standard and just complete shots. I was pretty much finished apart from the back and forth between creature and missile, so over the past 2 weeks I've gone through and tweaked what I can, where I can without redoing certain bits. I would like to redo some shots completely but there isn't enough time to do that so I've done what I can, ready before the final edit. First up is the mushroom scene and I'm quite happy with what's there, apart from the run. The run I had to knock out really quickly due to the time set out for us on the first scene which was two weeks after the dissertation hand-in, and I will return to it and redo a run cycle for the hunter.

I think the first few shots I did are the best and most pleased with (along with the last one) and it's purely because I spent more time on them as they're the ones that really needed to look right. I don't know if it's me being pedantic, but I think when the creature hits the first and maybe the second mushroom he needs a frame or two less contact time. I think this combined with extra finger movement would make it look near enough there.


The only annoying thing with this, was that I couldn't animate the hunter's hat falling off his head because it was under some weird hierarchy and did some funky things, like scaling and both parts moving away from each other. It was probably down to double transformations or the pivot/centre point being in completely different places. I'm not advanced enough to understand these things so I didn't want to mess with anything for the sake of messing something up aaaand the rig's broken then no playblasts. Note: After hand-in's study rigging! But yes, happy with this shot, although could forever tweak the mushroom.


The only real issue I have with shot 3 is the moving mushroom cap, I should have animated it for longer because it just stops.


Shot 4 annoyed me because as one of the tweaks I had to go back and put in a head-look-down and I just couldn't get it to look completely right. So if I were to go back to this shot, I'd exaggerate the shoulders less because they jump in one place and redo the whole head including facial animation. But relatively happy, and I do like the sly little smile and look away I put in at the end.


For shot 5 works but I can see now why it is a bit off, the tail needs to come down onto or close to his head when he lands to give a sense of weight and reaction of forces upon him. One thing that really annoys me about this rig (apart from the lack of neck) is that he has no individual finger movements like on the other characters where you can change just the tips, middle or bases of the fingers, as with most stuff though time was an issue. I think he did need more than just a fist and curl finger control as it would have made the creature look a bit more polished on this shot. Nevertheless I'm relatively happy with it.


I'm happy with the way shot 6 turned out, and like how the creature is just happily bouncing away unknowing of what's behind him, but I think some of the drops hold for a frame or two too long. Also I think I should have made the creature zig-zag a little more just to give a bit of dynamic and contrast to the hunter's run.


I'm happy with shot 8, this is probably my favourite of this scene just because of the animated bamboo's. If there was a little more time, I'd have animated all the bamboo's in my other scene (missile) too, as I do think it adds an extra bit of depth into a scene if some elements are swishing around in the gentle breeze. I'm not as sure with the way I animated the apprentice, it works, but I'd go back and make him move a little less and give him better poses.

Saturday, 14 May 2011

Innovations

After much deliberation on my list of project ideas, I've decided to take a different turn. Continuing on my ideas for wanting to model or sculpt, I've chosen to push this slightly further. Modelling a character ready for rigging was an innovative idea for me, however in relation to the bigger picture (outside world) I still wanted to do something that has been left largely untouched or something I've seen very little of.

I've seen an array of very pretty 2D illustrations and concepts, these below are the kind of thing that always inspire me to keep working away, hopefully becoming talented enough like this one day.


There are a plentiful supply of this kind of style, quick speed-paints and concepts artists typically do for personal benefit or work, but there are very few that take this into the 3D environment. From the images above, there is a good sense of depth, and particularly with Rodney Funtebella's (the two top right images) work depth enough to decipher how that object/environment would appear if it were real. It's easy enough to create. With Goro Fujita's work (top and bottom left and mid top) there is still depth and could still be modelled, but on a lesser scale, less 'concept art for purpose' and more 'concept art as an illustration,' and this is the area I would like to work on. Building upon the concept art for illustration and delving further to create a flatter image.

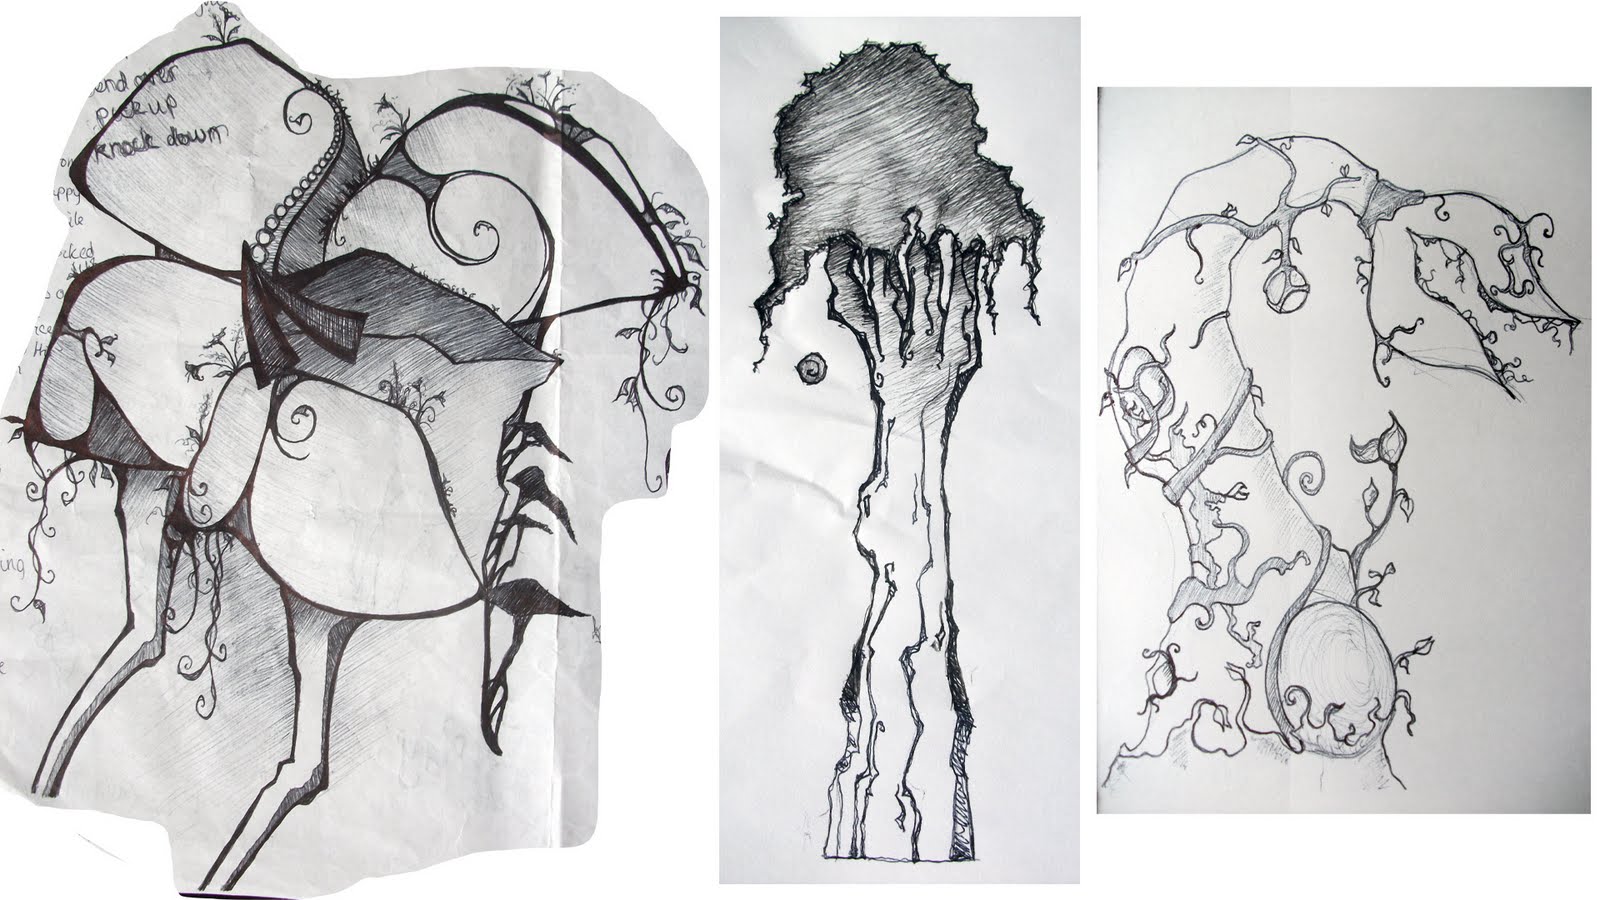
Below I have created my own illustrations exploring this idea of stylistic concept art concentrating more on the style and being illustrative and less on realism and having a real depth.

Below I have a couple of images from my sketchbook, that were made for the initial concepts of The Last Trophy plants. Just flicked through to remind myself of the sketches and the kind of style I did it in seeing how flat or full of depth the sketches got. (They didn't get too full of depth) I shall take these kinds of ideas and do a few more sketches to combine these ideas together and create something new, incorporating the idea of creating 'flatness.'


Below are some of my ideas, taking elements from my initial illustrations (above) that provide depth and pushing these ideas further to create a very flat image.


I've also been looking for some 3D work to aspire to, and give me some indication of where my illustrations can take me. Unfortunately, it's not that easy to find 3D work that looks like it has that element of illustration incorporated into the models. The bottom 3 are the closest I could get:

So for the innovations project here's my abstract:
For the innovations project I will be focussing on turning my stylised 2D illustrations into various 3D models. Using Maya to construct a base mesh, I will transfer this across into a sculpting software, either zbrush or mudbox, to refine the models and bring in the style as drawn in the 2D illustration. This will be a highly experimental project that will encompass taking my original sketches (that contain a some sense of depth) and re-creating them as flat (without depth) as possible which become highly stylised 2D illustrations. Taking these images, I want to see how well you can integrate the same style in 3D space.

Saturday, 9 April 2011

Animating for Jeffrey Chide, S001

Poor Jeffrey, he is so sad, bless his cotton socks. Just want to mention first that it takes him forever to walk to places, for 2 human steps, he takes .... I lost count but where it would take us 1-2 seconds it takes poor flat Jeffrey 8-10 seconds. Yes it took ages to animate, but I saw the light at the end.

I've started full animation work for Craig now, and have started off with S001, so I have 2 full time jobs now working not the normal 12 hours but 18+ hours for which I'll make up any lost sleep when everything's done.

S001 or I'll just call it scene 1 is where the film starts, an introduction to Jeffrey. He's lying on his bed rather unhappy with his current predicament and when his alarm goes off, reluctantly gets out of bed, or should I say have to jump himself out. So I was given a Scene 1 package, maya files and new versions of the fixed rigs. Along with this I got a little read me file and an awesome shot setup sheet as pictured below, and these told me exactly what Craig is looking for and wants to see when he gets my animation back. This makes it a lot easier to animate to, as an animatic and blockthrough can only do so much. You need to know the characters emotions and movements to animate more efficiently especially as there is only me outside his team working on animation.


I watched the blockthrough a few times to get a good grounding for what needed to be done and how I would approach it, printed off the shot pages, and mouse clicks away. The most challenging part, is Jeffrey getting out of bed. Since he is flat, has tiny arms and legs, it proved very tricky to figure out how he would approach getting out of his bed. So I thought about how I would do it if I were flat (and the easiest execution to do with the rig setup I had) I acted out a lot of approaches on my bed and floor like pulling himself across his bed with just his legs, and pulling with both his legs and arms. I did a quick blocky test of this and it was very floaty-like and would be hard to have his hands stay in set places with his FK setup, and the amount of constraining I would have to do would be a lot for his left hand. So the other option was to make himself jump out of bed, his feet would bounce across his bed to get enough momentum for him to lift himself up.

The next parts to do were the walks, Jeffrey has very tiny legs and thus cannot move himself very far in one stride, so these parts weren't so much tricky, but very tedious. Instead of pose-to-posing him, I opted for the layered approach. I concentrated on his legs and main body movement first, then his upper body and head and finally his arms and hands. Overall I think this approach worked very well for such a long shot, and a long distanced walk cycle, and something I may employ when I come to do one of The Last Trophy shots when hunter is running.


And while I was waiting for playblasts, a bit at a time I would biro over the shots, not much bearing on doing the animating, but I could see the progress of how far along the animation was on paper, just from the amount of notes and numbers and the sketch over of the shot. That and the number of playblasts mostly gave me an indication of how far along it was. (12, 13, 14 usually means the final stages are coming.)


Friday, 18 March 2011

Rigging Mushrooms

On completion of the textures, it was time to start planning out my scenes and knowing exactly what needs to be done. There was a basic layout set up for the mushroom scene, which will later be spruced up with all the textured plants by one of our 'gardeners' Matt Luxton and hopefully will look really nice because I'll have the camera shots ready to hand over so the shots can have good composition and have some nice framing too.

The problem was with the bouncy mushrooms. It wasn't really thought about until the character rigs were ready and I needed to animate. In the tests I did just before Christmas, there were some basic rigged mushrooms, as nurbs curves:


And the problem was that they wouldn't move around at all, it just didn't happen:

That and there were some lovely new models that would replace the nurbs ones. Due to everyone getting along with their tasks and wanting to start animation as soon as, and work to get it done in time for render, I decided to have a dab hand at rigging mushrooms. I was given a basic setup to start with, so I knew where to put stuff according to the world space:

I took this and placed the newly modelled mushrooms according to how I would animate the characters jumping along the mushrooms with just the right gap between them; as they were a bit spacey in the above image, considering the plants were fairly big in relation to size of the character.

After setting up the mushrooms, I opened a fresh scene and put two mushrooms in and started my foray into rigging mushrooms. If you ever want to rig a mushroom here it is:

First you need to create some clusters, and place them where the areas to be affected, are. So make sure you're in the Animation control and go Create Deformers -> Cluster. Then place it at the top of the mushroom cap and do the same but place it at a low point of the mushroom cap.

After this we need to set up the affected areas, so when we move that cluster the mushroom also moves. We next select the area we want to be affected with vertices, and go a bit beyond that to give a nice dropoff, and then select the cluster. Then, Edit Deformers -> Paint Cluster Weights. You can now paint over the area you want to be affected, the images below show how I did it on my caps for the top, and the low point:


After painting our areas we can grab the cluster and see how the deformations are, if they're a bit off go to the Paint Cluster Weight tool and select the right cluster and edit till satisfied. (It helps massively to give them a name to know where stuff is in the outliner, or if you have more than a couple clusters in a scene to not get mixed up.)

Once satisfied with the results, we need some controls to easily pick and animate away. Create two NURB's circles and place them roughly in line with the clusters so there's a more accurate way of seeing how far you are moving the affected area up and down.

Important Step: Always freeze the transformations on the controlling element! An excellent habit to get into! So select the circle and in the channel box, highlight Translate, Rotate and Scale (or whatever changed) and Freeze them all. It provides you with a zero point to go back to, where you freeze it, it will become the origin so to speak. So when you start animating, you'll know the original shape/place of the object by zeroing the values.

The last step is to connect it all up, and I used a parent constraint to do this. So select what the parent will be, the Circle and then the child, the Cluster. Then Constrain -> Parent and go to the little box to set any restrictions or keep all the options open for the animator. If you wanted to restrict the movement, I locked the relevant items out in the channel box of the NURB's circle. (And hide them away if it was a definite that translate/rotate/scale wasn't needed as I did for scale on the final scene mushrooms)

This image below roughly shows the process of the Freezing and Parent Constraining:


Below are the quick tests I did after I'd finished rigging and weight painting them, to see how they bounced and squished in the test scene:


These last two videos are of the test I did with the creature, creating the bounce in the mushrooms in conjunction with character animation, mainly deciding on any other tweaks I could do to make the mushrooms look 'real' enough. After this I did go back and edit the weights on the more rounded mushroom (last jump one) to make the up and down more of smooth and make the polygon edge of the weighting less noticeable. With my textures, they should look pretty good.